Mastering the art of upholstery requires more than just fabric and foam. One of the most defining marks of professional-quality work is how well the corners are finished. Whether you’re reupholstering a dining chair, crafting custom cushions, or restoring a vintage armchair, knowing how to do upholstery corners properly will enhance both the aesthetics and durability of your project. In this guide, we’ll walk you through everything you need to know to handle upholstery corners like a pro—from preparation to technique, tool selection, and finishing touches.
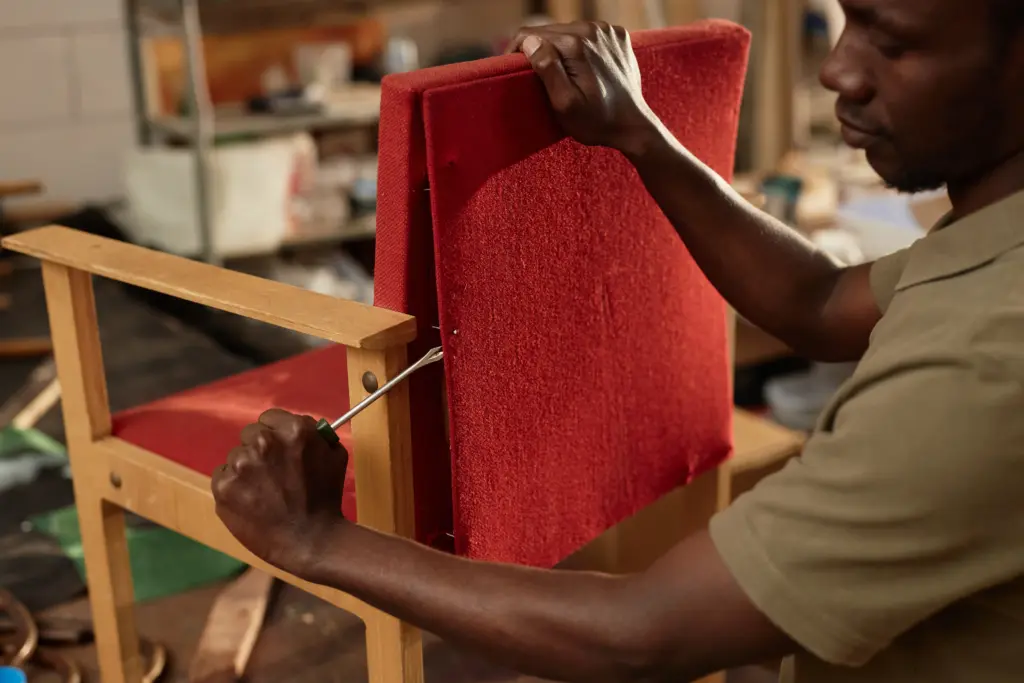
Why Upholstery Corners Matter
Upholstery corners are often the most visible and most handled parts of furniture. Sloppy corners with uneven folds, exposed staples, or bulky material can immediately cheapen the appearance of your work. In contrast, smooth, tight corners demonstrate skill and create a more polished, professional finish.
The corner work also directly impacts how well the fabric stays in place over time. Loose or unstructured corners can lead to wrinkles, shifting fabric, or seams that come apart with wear. Tight corners keep the fabric secure, maintain the shape of the furniture, and contribute to its long-term comfort and durability.
Understanding Fabric Behavior Around Corners
Different upholstery fabrics respond in unique ways when wrapped around corners. Stretchy materials like microfiber or knit blends tend to be more forgiving and easier to manipulate. In contrast, heavy woven fabrics, vinyl, or leather require more careful folding and may resist tight turns. Understanding how your chosen fabric behaves is key to creating consistent, clean corner finishes.
Before beginning, always test how your fabric stretches or folds. If you’re working with a pattern, consider how directional prints or stripes will align across the corners—you may need to adjust your cuts to maintain a visually pleasing result.
The Spruce Crafts provides a helpful overview of fabric types and how to choose them for upholstery work.
Tools You’ll Need for Corner Upholstery Work
Just like with foam cutting, the quality of your corners depends heavily on the tools you use. Here are some essentials:
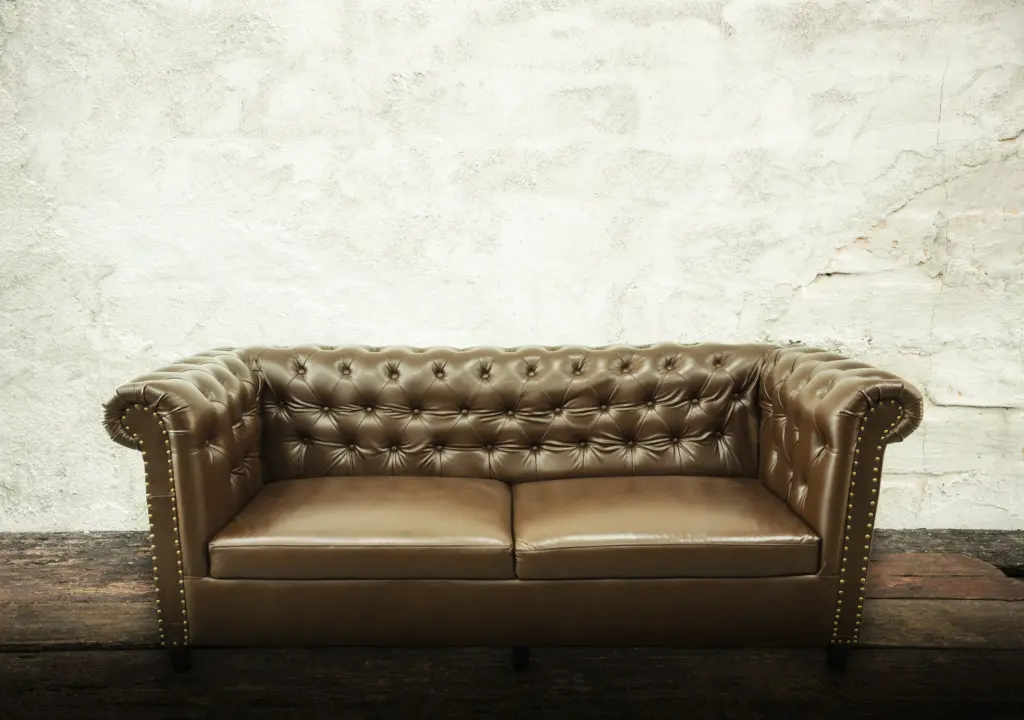
To achieve clean, secure corners, you’ll need a few specialized tools. An upholstery staple gun—whether manual, pneumatic, or electric—will allow you to secure fabric efficiently. For detailed work, hand-stitching needles are essential, especially around seams. You’ll also want high-quality fabric scissors or a rotary cutter for accurate trimming, along with a staple remover to correct any missteps without damaging the fabric. Pliers help smooth and guide folds into place, and foam or batting may be used to pad the furniture’s surface. Some professionals use spray adhesive to keep layers from shifting during upholstery. Lastly, a rubber mallet can be helpful for flattening bulky folds after stapling.
Working in a clean, well-lit space is crucial for detail work like corners. A raised workbench or table helps prevent back strain and gives you better control over fabric positioning.

Basic Upholstery Corner Styles
There are a few standard techniques for finishing corners in upholstery, and each serves a different style of furniture or desired look:
Wrapped Corners
One of the most straightforward methods, the wrapped corner technique involves pulling the fabric directly around the edge and securing it underneath the furniture. This approach is commonly used for square or boxed shapes like dining chair seats where minimal shaping is needed. It creates a clean, modern finish without added folds or pleats.
Pleated Corners
This style involves creating a soft fold or pleat at the corner, which is then secured on the underside. It’s ideal for thicker fabrics and traditional furniture styles like armchairs and wingbacks. Pleats can be symmetrical or angled depending on the shape you want.
Mitred Corners
For a sleek, architectural appearance, mitred corners are the go-to solution. This method requires trimming and folding the fabric at a 45-degree angle, allowing the edges to meet in a sharp, clean seam. Mitred corners are favored for contemporary or tailored upholstery styles, such as modern ottomans or clean-lined sofas, where precise geometry enhances the visual appeal.
Folded Corners
Folded corners provide a refined look without visible seams. This technique involves diagonally folding the fabric back on itself, tucking the excess underneath, and securing it with well-placed staples. It’s particularly effective on furniture where you want strength and subtlety, such as armchairs or benches that undergo frequent use. While it may take practice to perfect, the end result is a tidy, understated finish that elevates the entire piece.

Step-by-Step: How to Do Upholstery Corners
Let’s walk through the standard process to upholster a square corner on a dining chair seat, using a pleated method as a base. This is one of the most common upholstery projects and helps build your skills for more complex furniture.
Step 1: Prepare the Fabric and Foam
Begin by cutting your foam to size and adhering it to the chair base if needed. Then place a layer of batting over the foam for softness and to reduce friction between the foam and fabric. Cut your fabric with at least 3–4 inches of overhang on each side to allow plenty of room for folding and stapling.
Step 2: Secure the Fabric Centerlines First
Start by stapling the fabric at the center of each edge on the underside of the chair. This keeps tension even and prevents pulling too much fabric to one side. Pull firmly, but not so tight that it distorts the shape of the foam.
Step 3: Work Toward the Corners
Once the centers are stapled, work your way outwards on each side, leaving the last few inches at each corner free. Smooth as you go to avoid wrinkles or puckering. At this stage, you want the fabric to be taut but not overstretched.
Step 4: Form the Pleat
When you reach a corner, pinch the fabric so that it folds neatly to one side, forming a small triangle or flap. Pull the flap snugly toward the center of the underside and staple it down. Then fold the opposite side over the first pleat, creating a layered effect. This is where hand strength and precision matter.
Step 5: Secure and Refine
Use multiple staples to hold the pleats in place and ensure they won’t shift over time. Trim any excess material that could create bulk. If needed, tap the fold lightly with a rubber mallet to flatten it. Check all corners for consistency.

Adjusting for Rounded or Angled Corners
Not all corners are perfectly square. If your project involves curved corners (such as a rounded ottoman), you’ll need to adjust your approach. In these cases, the pleat should be smaller and more gradual, sometimes requiring more than one fold to keep the fabric smooth. You can also notch the seam allowance on the fabric slightly to reduce bunching.
For angled or tapered corners, mitred or folded techniques often provide a cleaner finish. The key is to always test the fold before stapling—don’t commit to a corner until it looks clean from the top and underside.
Common Mistakes and How to Avoid Them
Rushing through the corners is one of the most common errors. People often get eager to finish and simply bunch or force the fabric into place. This leads to uneven pleats, misaligned patterns, or corners that don’t hold up over time.
Using too many staples can also be problematic. Over-stapling can create bulk, making the corner difficult to flatten. Likewise, using too few staples may cause the fabric to shift or loosen with use. Aim for just enough to hold the fabric securely and consistently.
Another common issue is neglecting to plan for the type of fabric being used. Some materials require gentle handling, while others need strong tugs to lie flat. Always adjust your folding method to suit the fabric’s weight, stretch, and texture.
Finishing Touches
Once all corners are secured, examine your work from every angle. Run your hands along the seams to ensure nothing feels bulky or uneven. If you’ve used patterned fabric, check that the lines or motifs align well across each corner.
Some professionals add a decorative nailhead trim or piping along the seams to cover staples and enhance the aesthetic. These finishing details can elevate a basic reupholstery job into a high-end result.
Why Professional Upholstery Corner Work Matters
The quality of your corner upholstery speaks volumes about the craftsmanship of your work. Smooth, symmetrical corners add sophistication and structure, while sloppy corners stand out in all the wrong ways. Mastering this skill will not only improve the look of your furniture but also make the fabric last longer and wear more evenly.
If you’re reupholstering high-use furniture such as dining chairs, bar stools, or ottomans, tight corners can prevent dirt and dust from accumulating in folds and seams—making your furniture easier to clean and maintain.

Expert Tips to Improve Your Technique
- Always cut fabric with at least 3 extra inches per edge to allow for flexible corner folds.
- Use a helper when working on large furniture to hold fabric in place while you staple.
- Mark pleat placement lightly with chalk for consistent folds across all corners.
- If the fabric slips, use a small amount of spray adhesive to tack it temporarily in place.
- For removable cushions, wrap the corners and pin the folds first before sewing or stapling.
When to Call a Professional
Some projects require more than just patience and good technique. If you’re working with antique furniture, expensive fabric, or complex shapes, it may be worth hiring an upholstery expert. This ensures not only a better aesthetic result but can preserve the structural integrity of the piece.
For homeowners in Northeast Ohio, Green and Clean Home Services offers expert upholstery cleaning and care. Whether you’re freshening up a vintage chair or just need help maintaining your upholstered furniture, our team brings the tools and experience to do it right.

Conclusion
Learning how to do upholstery corners is a valuable skill for any DIYer, craftsperson, or homeowner looking to extend the life of their furniture. With the right tools, techniques, and practice, you can turn rough folds and staples into crisp corners that elevate your upholstery project. Be patient, work methodically, and don’t be afraid to redo a corner until it’s perfect—your finished product will look cleaner, last longer, and reflect true craftsmanship.
For professional upholstery cleaning, odor removal, and stain care, trust the experts at Green and Clean Home Services, proudly serving Lake, Cuyahoga, Geauga, Summit, Portage, and Medina Counties.


