Chimney flashing and concrete play a critical role in maintaining the structural integrity of a chimney. Over time, flashing can deteriorate, leading to water leaks, and concrete elements such as the chimney crown can crack due to weather exposure. If these components are not properly maintained or replaced, they can cause serious damage to both the chimney and the home. Let’s go over how to replace chimney flashing and concrete.
Replacing chimney flashing and repairing or replacing concrete elements requires careful planning, the right materials, and proper installation techniques. This guide will walk you through the process of replacing chimney flashing and concrete to ensure a watertight and durable chimney structure.

Understanding Chimney Flashing and Concrete
What Is Chimney Flashing?
Chimney flashing is the metal barrier installed where the chimney meets the roof. Its primary function is to prevent water from seeping into the home by sealing the gaps between the chimney and the roofing materials. Flashing is typically made from galvanized steel, aluminum, or copper, and it consists of multiple layers to provide a watertight seal.
There are different types of flashing, including step flashing, counter flashing, and base flashing. Each plays a role in keeping water from penetrating the roof structure around the chimney.
Why Chimney Concrete Matters
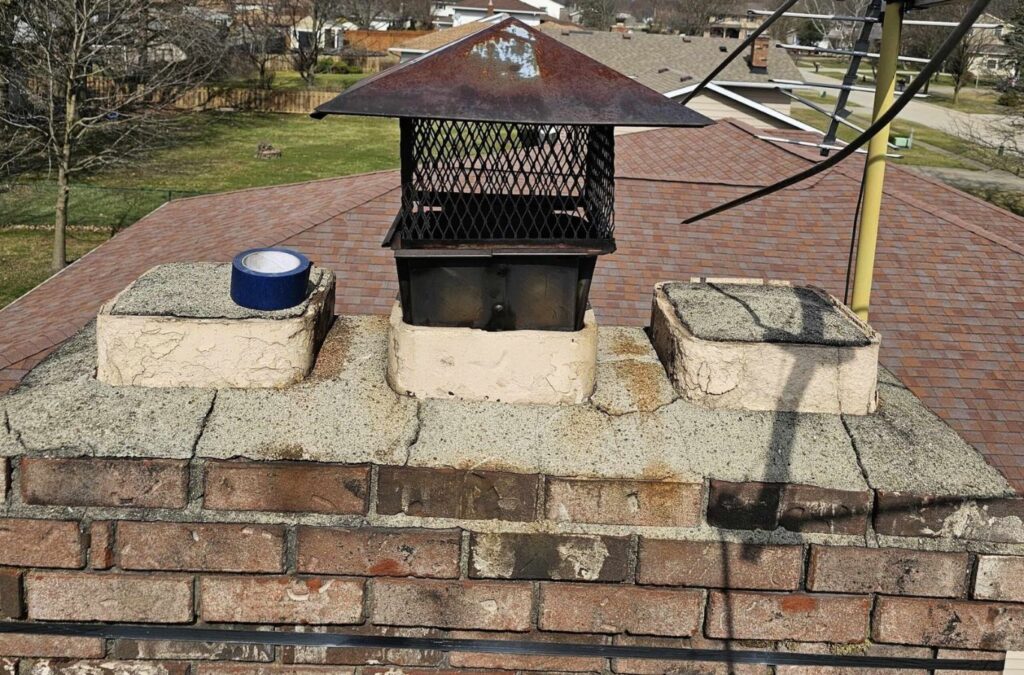
Concrete is commonly used in chimney construction for the chimney crown, which is the top protective layer that prevents water from seeping down into the bricks and mortar. The concrete crown directs water away from the chimney, reducing the risk of damage caused by moisture infiltration. If the concrete is cracked or deteriorating, water can penetrate and cause structural damage, leading to costly repairs.
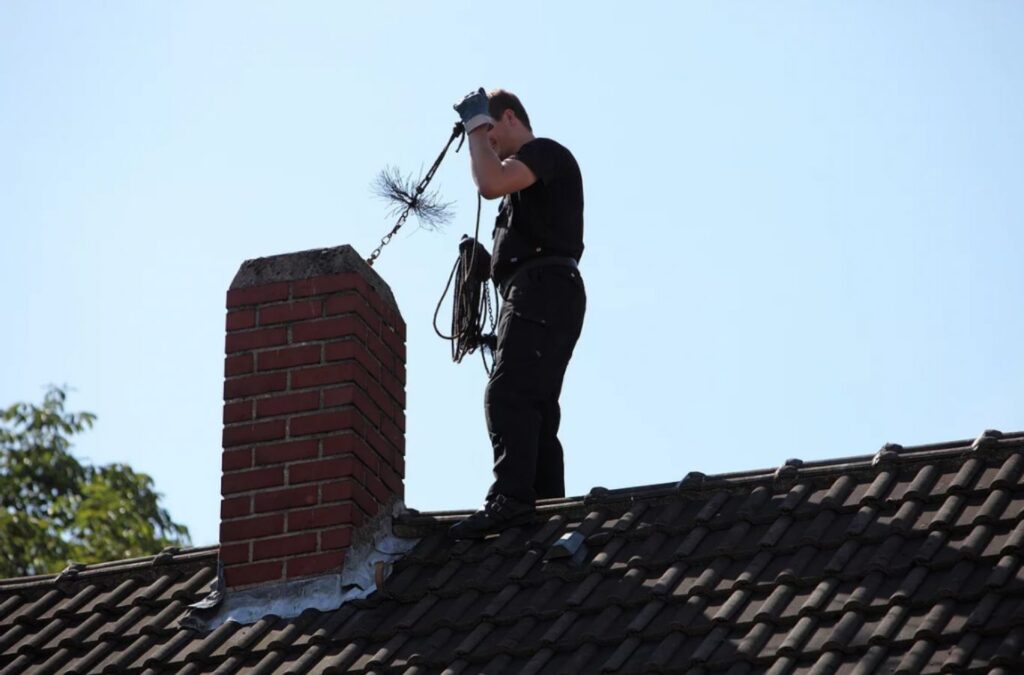
Signs That Chimney Flashing and Concrete Need Replacement
Common Issues with Chimney Flashing
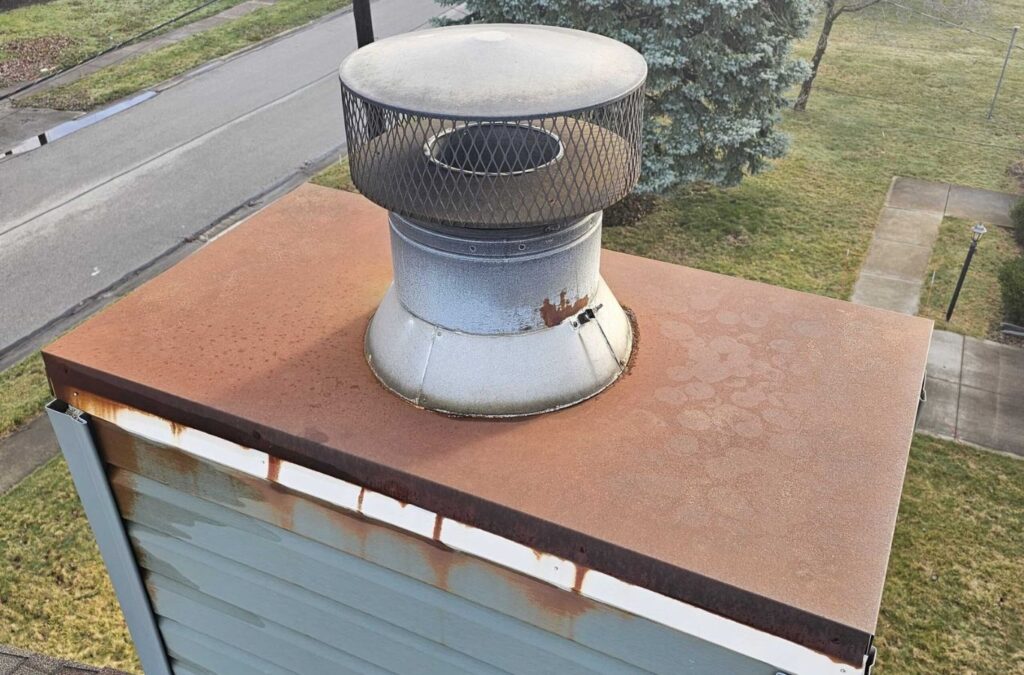
- Rust or corrosion on metal flashing, indicating deterioration
- Loose or missing flashing due to wind or age-related wear
- Water stains or leaks inside the home near the chimney
- Mold or mildew growth around the chimney area
Signs of Concrete Damage
- Cracks in the chimney crown allowing water penetration
- Spalling or crumbling concrete due to freeze-thaw cycles
- Water pooling on the chimney crown, indicating improper drainage
- Pieces of concrete falling off, showing advanced deterioration
If you notice any of these problems, replacing the flashing and repairing or replacing the concrete should be a priority to prevent further damage.
How to Replace Chimney Flashing
Tools and Materials Needed
- Metal flashing (galvanized steel, aluminum, or copper)
- Roofing nails or screws
- Roofing cement
- Pry bar
- Tin snips
- Caulking gun and silicone sealant
- Hammer
- Measuring tape
- Ladder and safety harness
Step-by-Step Process
Step 1: Remove Old Flashing
Before installing new flashing, carefully remove the existing materials. Use a pry bar to lift the old flashing from around the chimney, taking care not to damage the roof shingles. If there is old roofing cement or caulking, scrape it off to create a clean surface.
Step 2: Install Base Flashing
Base flashing is the first layer and is installed at the bottom of the chimney where it meets the roof. Position the base flashing so that it extends up the chimney and lies flat on the roof. Secure it using roofing nails or screws.
Step 3: Attach Step Flashing
Step flashing consists of L-shaped metal pieces that tuck under each row of shingles. These are installed in an overlapping pattern, ensuring water flows down without seeping through gaps. Nail the step flashing in place and apply roofing cement to secure it.
Step 4: Install Counter Flashing
Counter flashing is embedded into the chimney masonry to cover the top edge of the step flashing. Use tin snips to cut the metal flashing to the correct size and insert it into grooves cut into the chimney bricks. Secure it with screws or roofing cement.
Step 5: Seal the Flashing
Apply a bead of silicone sealant along the edges of the flashing where it meets the chimney. This will create a waterproof seal and prevent leaks. Double-check for any gaps that may need additional sealing.
How to Repair or Replace Chimney Concrete
Tools and Materials Needed
- Concrete mix
- Trowel
- Bucket for mixing
- Wire mesh (for reinforcement)
- Waterproof sealant
- Safety gloves and goggles
- Chisel and hammer
- Level
Step-by-Step Process
Step 1: Assess the Damage
Before starting repairs, examine the chimney crown for damage. If the cracks are minor, they can be sealed with a waterproof sealant. However, if the concrete is crumbling or severely cracked, it will need to be removed and replaced.
Step 2: Remove Damaged Concrete
Use a chisel and hammer to break away the damaged concrete from the chimney crown. Be careful to remove only the deteriorated sections while keeping the underlying structure intact.
Step 3: Prepare the New Concrete Mix
Mix the concrete according to the manufacturer’s instructions. If reinforcement is needed, place a wire mesh over the chimney crown before pouring the new concrete.
Step 4: Apply the New Concrete
Pour the freshly mixed concrete onto the chimney crown, spreading it evenly with a trowel. Slope the surface slightly outward to allow water to run off instead of pooling. Smooth the concrete and use a level to ensure it is properly aligned.
Step 5: Allow Proper Curing
Let the new concrete cure for at least 24 to 48 hours before exposing it to moisture. Avoid walking on the chimney during this period to prevent any displacement of the material.
Step 6: Apply Waterproof Sealant
Once the concrete is fully cured, apply a waterproof sealant to protect it from future water damage. This will extend the lifespan of the chimney crown and prevent cracks from forming prematurely.
Preventative Maintenance for Chimney Flashing and Concrete
Regular Inspections
Perform routine inspections of the chimney flashing and concrete to catch early signs of deterioration. Check for rust, cracks, and any separation between the flashing and the chimney.
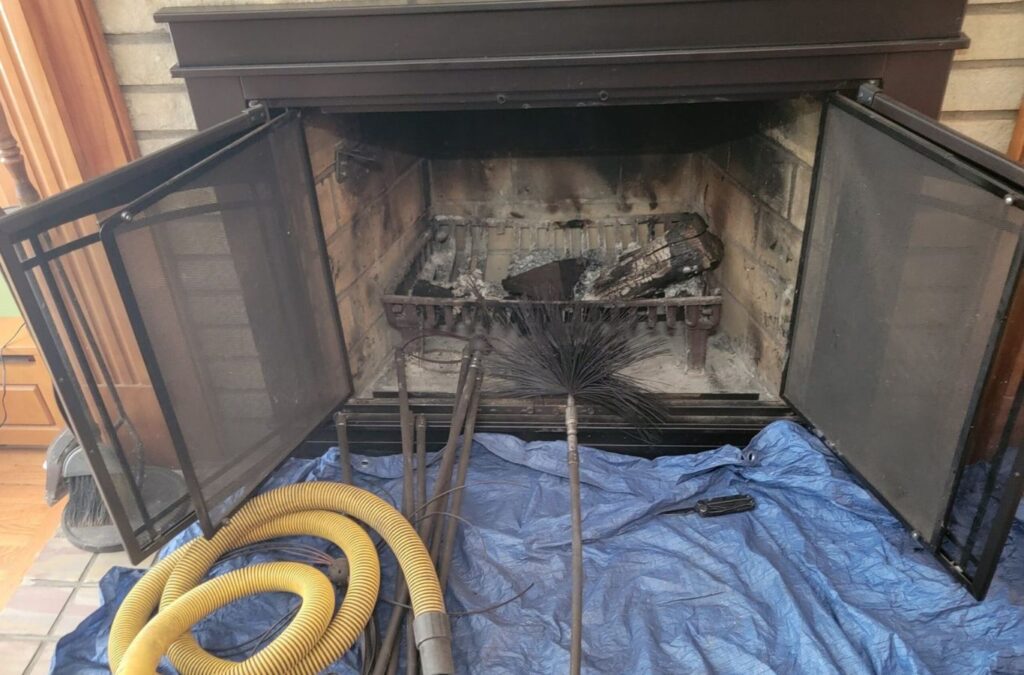
Keep the Chimney Clean
Regular chimney cleaning can help prevent moisture buildup that can contribute to the breakdown of materials. Hiring a professional chimney sweep at least once a year is recommended.
Reapply Sealant as Needed
Waterproof sealant should be reapplied every few years to maintain the integrity of the chimney crown and flashing. This will help prevent water from seeping into cracks or joints.
Address Small Issues Before They Worsen
If you notice minor cracks or small leaks, address them immediately before they become more serious problems requiring extensive repairs.
Final Thoughts
Replacing chimney flashing and repairing chimney concrete are essential maintenance tasks that help protect your home from water damage and structural deterioration. While the process requires careful planning and the right tools, following these steps ensures a durable and watertight chimney.
If you are unsure about tackling these repairs yourself, consider hiring a professional service like Green & Clean Home Services. Our team of experts can handle all aspects of chimney maintenance, from flashing replacement to concrete repairs, ensuring long-lasting protection for your home. Investing in quality chimney maintenance today can save you from costly repairs in the future. We hope this helps you understand how to replace chimney flashing and concrete.


