
Replacing old carpet is one of the most effective ways to refresh a room. While the process might seem daunting at first, learning how to replace carpet can be manageable and satisfying when approached with the right preparation and tools. Whether you’re dealing with worn-out material, trapped odors, or simply outdated aesthetics, the transformation brought by new carpet can be profound. This guide offers a complete overview of how to replace carpet from start to finish, so you can plan with confidence and avoid common pitfalls.
Why Carpet Replacement Is Often Necessary
Most homeowners don’t think about their carpet until it becomes an eyesore. But over time, carpet naturally degrades. High traffic leads to matting, spills leave permanent stains, and even deep cleaning can’t always eliminate long-term odors. According to the Environmental Protection Agency (EPA), carpeting can also harbor allergens, dust mites, and pollutants that affect indoor air quality.
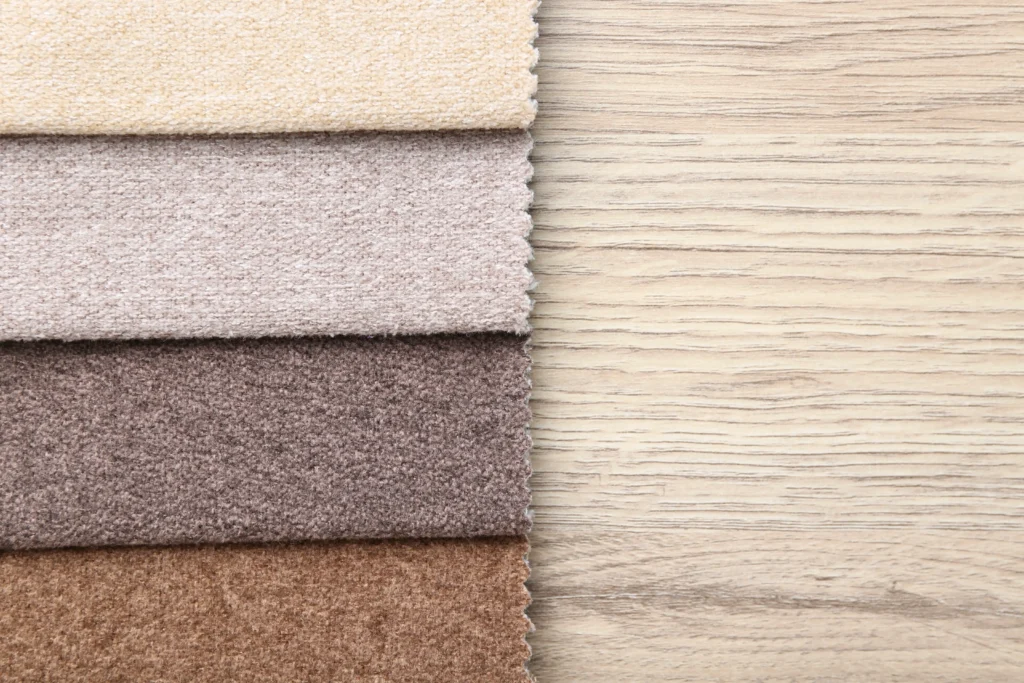
Beyond the health and hygiene concerns, aesthetics are another reason to consider carpet replacement. Modern flooring trends favor neutral tones and minimal texture. If your current flooring has outdated patterns or colors, learning how to replace carpet becomes not just a maintenance task but an upgrade in style.
Preparation: What to Do Before Starting
The first step in how to replace carpet is thorough preparation. Remove all furniture, decorations, and wall fixtures from the room. Then, measure the room’s square footage — length times width — to determine how much carpet and padding you’ll need.
You’ll also need the following tools:
- Utility knife
- Staple remover or pliers
- Knee kicker
- Carpet stretcher
- Pry bar
- Hammer
- Seam roller
- Duct tape or carpet tape
At this point, it’s helpful to inspect the baseboards and any transition areas. If you’re unsure about the structural integrity of your subfloor, this is a good time to check for damage. Professional carpet installers like Green and Clean Home Services often conduct pre-installation assessments to avoid laying new material on compromised surfaces.
Step One: Removing the Old Carpet
This is the beginning of the labor-intensive part of how to replace carpet. Start by pulling up one corner of the carpet near a wall, using pliers if necessary. Carefully cut the carpet into manageable strips with a utility knife and roll them up for disposal.
After the carpet is removed, you’ll need to tear out the old padding. Padding is typically stapled or glued to the subfloor and can be removed using a scraper or putty knife. Be sure to pull out all staples and nails.
Take extra caution with tack strips — the thin wood strips nailed around the room’s perimeter. These have sharp nails that hold the carpet in place. Use a pry bar to lift them, and always wear gloves to avoid injury. If tack strips are in good condition, they can be reused.
Step Two: Inspect and Prepare the Subfloor
Once the floor is exposed, thoroughly inspect it for damage or moisture. Look for soft spots or mold — especially if you previously had issues with leaks or pet accidents. If the subfloor is made of wood, screw down any squeaky or loose areas. Concrete subfloors should be patched if cracked or uneven.
Vacuum or sweep the area clean. Even small debris can cause bumps or imperfections in the final installation. If you’re replacing carpet in a high-humidity area like a basement, consider applying a moisture barrier or sealant.
The importance of a level, clean subfloor cannot be overstated. Poor subfloor preparation is one of the leading causes of premature carpet wear and visible imperfections. For more guidance, Bob Vila’s tutorial outlines subfloor inspections in greater detail.
Step Three: Installing Carpet Padding
Next, unroll and lay the carpet padding. Padding thickness and density can affect how your carpet looks and feels, so select a product suited to your space’s traffic level. Secure the padding with a staple gun or adhesive, ensuring it fits snugly edge-to-edge without overlapping.
Trim excess padding along the walls, and tape the seams together to keep the padding in place. Padding helps insulate the floor, reduces sound, and adds comfort underfoot. It also extends the carpet’s life by absorbing foot pressure and reducing wear on the carpet fibers themselves.
Step Four: Laying the New Carpet
This is the most rewarding stage in how to replace carpet. Begin by laying the carpet over the padding. If the room requires more than one piece, align the pile direction and join the seams with seam tape and a heated seaming iron.
Use a knee kicker to position the carpet along the walls. Starting at one wall, hook the carpet onto the tack strips. Then, use a power stretcher to stretch the carpet toward the opposite wall and secure it. Repeat the process for the remaining walls, ensuring the carpet is taut and wrinkle-free.
Once the carpet is stretched and secured, use a sharp utility knife to trim the excess along walls, doorways, and corners. Tuck the edges into the gap between the carpet and baseboards using a stair tool or similar edging tool.
Step Five: Final Touches
Vacuum the new carpet to remove any loose fibers and give it a finished appearance. Reattach any baseboards or trim, and reinstall door thresholds or transitions to adjacent flooring. Wait at least 24 hours before placing heavy furniture back on the carpet to give it time to settle properly.
To protect your new carpet, consider using furniture pads and rearranging furniture periodically. This prevents excessive wear in one area and keeps your carpet looking even and plush.
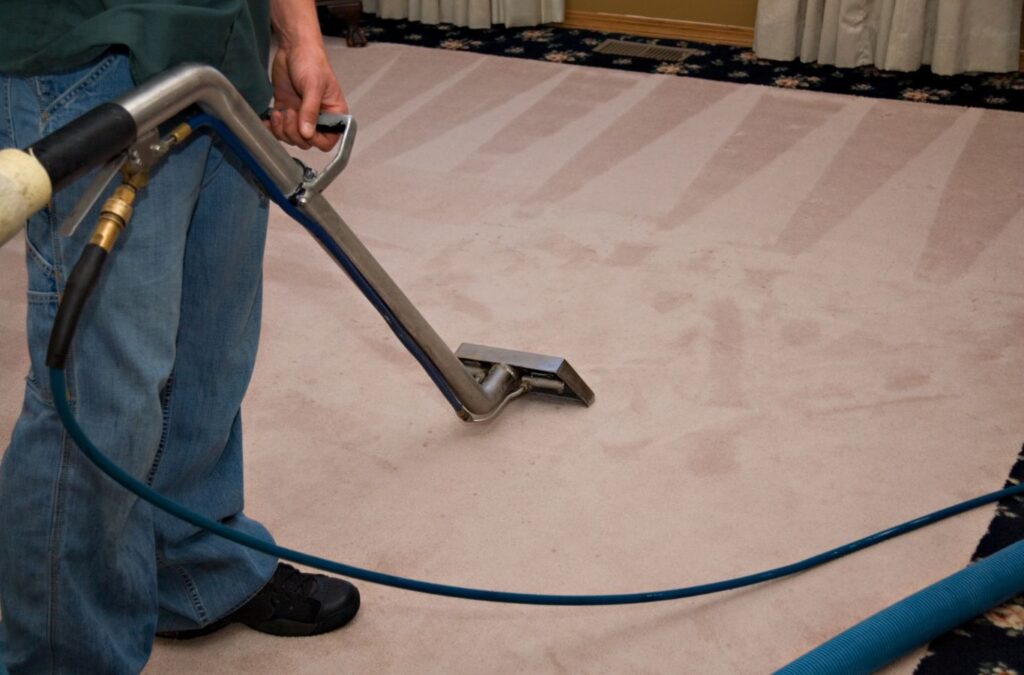
For care tips and long-term maintenance, the Carpet and Rug Institute offers a range of professional recommendations, including the frequency of deep cleaning and how to handle common stains.

Long-Term Carpet Maintenance Tips
Now that you’ve learned how to replace carpet, maintenance becomes the next priority. Frequent vacuuming, avoiding harsh chemicals, and immediate spot treatment are essential to preserving appearance and longevity. Consider a no-shoes policy to minimize dirt and abrasion.
Even with regular cleaning, carpets should be professionally cleaned once or twice a year. For households with pets or allergies, this may need to happen more often. Using high-quality vacuum cleaners with HEPA filters can also reduce airborne dust and allergens, contributing to healthier indoor air quality.
Conclusion
Mastering how to replace carpet allows you to take control of your home’s comfort, cleanliness, and visual appeal. From prepping the space to laying down the final corner, it’s a hands-on process that can either be a satisfying DIY project or a job best entrusted to professionals.
If you’re looking for experienced help, Green and Clean Home Services offers high-quality carpet care, from deep cleaning to full replacement assessments. Their trusted technicians can ensure a smooth transition from old to new flooring, leaving your space fresher, cleaner, and more inviting.
