
Attaching a dryer vent hose may seem like a minor detail in home maintenance, but it plays a major role in keeping your laundry room safe and functional. When a dryer vent hose is incorrectly installed or becomes loose, it can lead to reduced performance, excess humidity, and even fire hazards. Learning how to attach a dryer vent hose correctly helps protect your home, lower your energy bills, and extend the life of your appliance. Attaching a dryer vent hose involves securing the hose to both the dryer outlet and the wall vent using proper clamps, while keeping the connection tight and as straight as possible for proper airflow.
In Northeast Ohio, homes in Lake County, Geauga County, and Cuyahoga County often experience long winters and heavy indoor appliance use. This makes proper dryer vent setup even more important.
Older homes in the region can also present challenges with duct layout and accessibility. If your dryer takes longer to dry or heats up excessively, it may be a sign of poor airflow. Lint buildup around the hose connection is another warning sign. In these cases, it may be time to evaluate how your vent hose is attached.
Why a Secure Dryer Vent Hose Connection Matters
The dryer vent hose connects your appliance to the exhaust duct that leads outside your home. Its purpose is to remove hot, moist air and lint particles that are generated during each drying cycle. When this hose is loose, crimped, or damaged, airflow is restricted. That restriction causes your dryer to overheat and work harder, leading to longer cycles and more wear and tear on its internal components.
Improperly attached hoses are one of the leading causes of indoor humidity problems. In laundry rooms located in basements or tight spaces, which are common in Summit County and Portage County homes, excess moisture can linger and create an ideal environment for mold and mildew. Keeping the hose firmly attached and properly routed ensures that air and lint exit the home efficiently and safely.
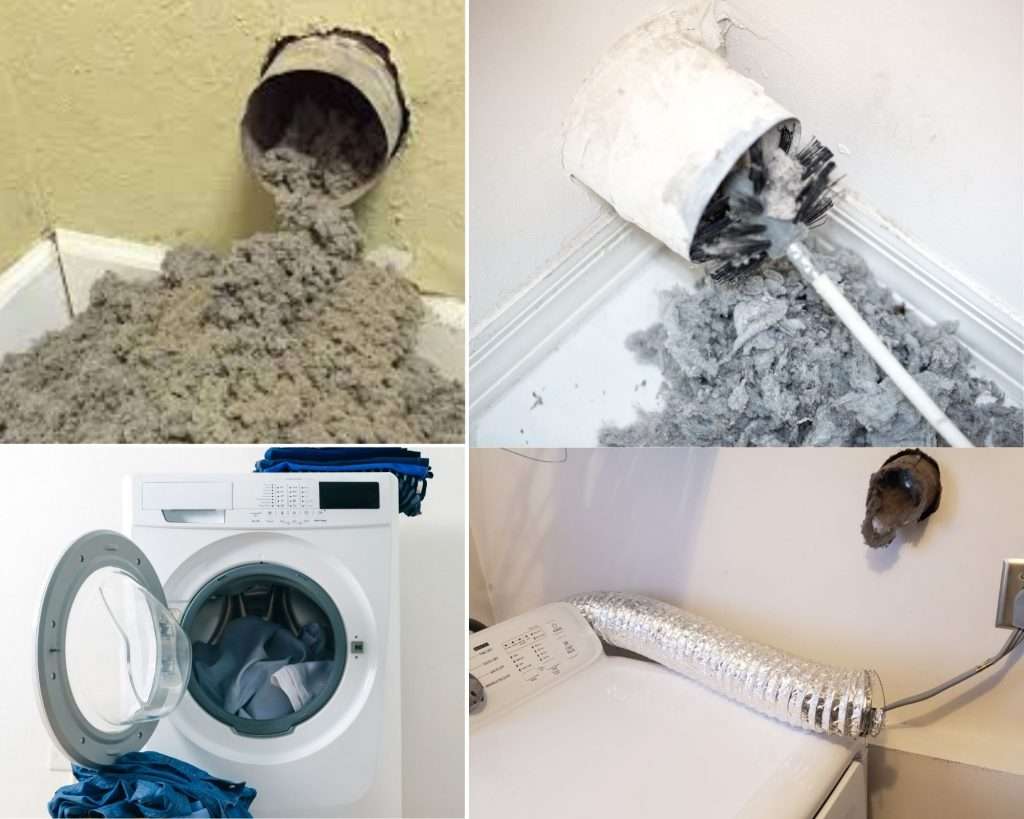
Beyond energy use and appliance wear, there’s a safety issue. Lint is highly flammable. When it builds up inside a kinked or partially detached vent hose, the risk of fire increases. According to the U.S. Fire Administration, failure to clean and maintain dryer systems is a top cause of residential fires. A clean, well-attached hose reduces this risk significantly.
Choosing the Right Vent Hose and Materials
Homeowners in Medina County need to know how to attach dryer vent hoses; however, it is even more important to know about the different types of hoses that are available. Not all hoses have the same performance characteristics and safety measures built into them. For example, many older homes in the northeast Ohio area have typically used flexible plastic or foil ductwork, which is very cost-effective but poses a significant fire hazard if lint were to ignite within the duct.
Safety and building codes generally recommend using rigid or semi-rigid metal ducts. These ducts are more durable and less likely to be crushed than flexible options. They also provide a smoother path for airflow and reduce the risk of lint buildup and fire hazards. If your current duct is made of plastic or shows signs of damage or kinking, upgrading to a rigid metal duct is a smart and safer choice.
These types of ducts can also increase dryer efficiency in homes throughout Medina County when the ducts have extended lengths. Since a metal duct will offer the least resistance, hot, moist air is able to be expelled from the home at a higher rate, thus drying clothes faster and reducing the potential for overheating.
Preparing for the Installation
Proper preparation is a key step when learning how to attach a dryer vent hose. Begin by making sure the dryer is unplugged or, if it’s gas-powered, that the gas line is shut off. Move the dryer away from the wall carefully to expose the back panel and the vent outlet.
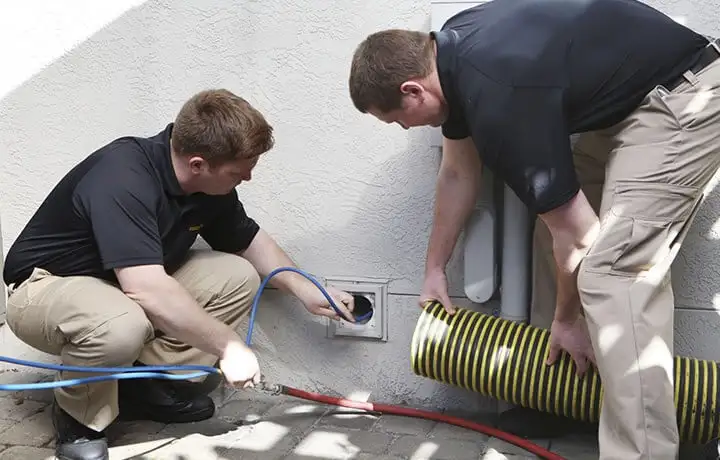
Inspect the vent connection point on both the dryer and the wall or floor. Clean away any lint or dust buildup in these areas. Lint near the connection point can loosen the fit and prevent the hose from sealing tightly. If your previous hose was damaged or poorly connected, now is a good time to clean the full duct system or schedule a professional cleaning. Services like Green and Clean Home Services offer dryer vent cleaning throughout Northeast Ohio and can remove hidden buildup that slows airflow and increases fire risk.
Make sure your hose is cut to the proper length. Hoses that are too long tend to kink or loop unnecessarily, which traps lint and restricts airflow. In many homes across Lake County and Geauga County, where laundry rooms are often compact, the space between the dryer and the wall may be limited. A shorter, straighter connection improves performance and safety.

Attaching the Hose at Both Ends
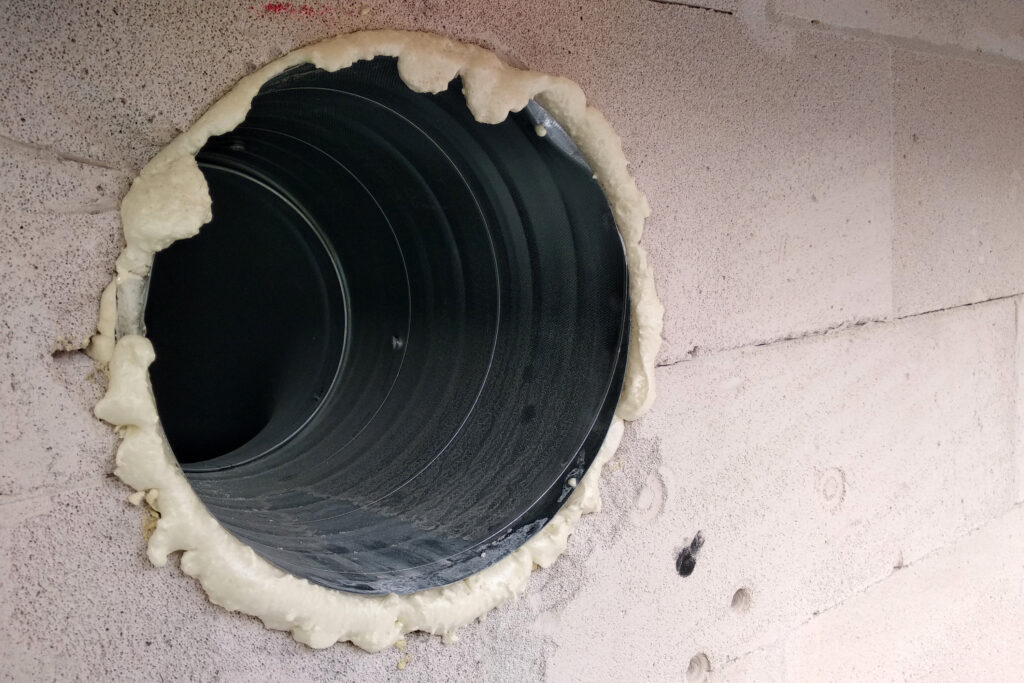
Start by placing one end of the dryer vent hose onto the vent collar at the back of the dryer. The vent collar will typically be round and may have a patina or ring that holds the vent hose firmly in place. If necessary, use your hands to widen the opening so that it fits snugly around the vent collar. Once positioned correctly, secure it with a clamp or tension ring. Tighten it until the hose is firmly in place. Tighten until it is securely fastened and does not move when you attempt to pull it lightly.
Next, attach the opposite end of the hose to the vent opening in the wall or floor. Again, make sure the fit is tight and the clamp is secure. Avoid using duct tape for this part of the connection. While tape may seem like a convenient solution, it dries out over time and loses its adhesive properties. Metal clamps or vent-specific hose connectors are more reliable and compliant with safety codes.
Be cautious during reinstallation. As you push the dryer back toward the wall, check that the hose doesn’t twist or crimp. A crushed hose will restrict airflow and can pull loose from the connector over time. In Summit County and Medina County, where laundry areas are sometimes retrofitted into smaller spaces, using elbow joints or rigid pipe extensions can help maintain a smooth path for airflow even in tight conditions.
Testing the Connection
Once the hose is attached and the dryer is back in position, plug it in or reopen the gas valve. Run the dryer on a short, timed cycle with a small load of laundry or a few towels. Check the vent exit outside your home. You should feel a steady stream of warm air blowing out during the cycle. If airflow is weak or the outside vent flap doesn’t open, the hose may not be properly connected, or the vent duct may be clogged.
During this test cycle, stay near the dryer and listen for any rattling sounds or vibrations that could indicate a loose connection. Some dryers in older homes across Cuyahoga County may produce more vibration due to uneven flooring or older suspension systems. If the hose pulls loose under stress, consider using a more durable clamp or adjusting the dryer’s position slightly.
Maintaining the Hose After Installation
Attaching the hose properly is only part of the job. Maintaining the connection ensures long-term safety and performance. Check the hose every few months for signs of wear or movement. Lint buildup around the ends may signal that air is escaping. If you notice a drop in drying performance, revisit the connection points and clean as needed.
It’s important to frequently clean behind and underneath a dryer. Any loose lint lying around the hose or floor may enter the dryer vent system and block the vent system. Dust, lint, and pet hair can commonly be found throughout Portage County, and these particles can get pulled inside the dryer vent system and contribute to airflow problems. Therefore, cleaning these areas on a regular basis can help prevent airflow problems within the dryer.
The Consumer Product Safety Commission (CPSC) also recommends replacing old hoses every few years, especially if they show signs of wear, damage, or poor fitting. While metal hoses last longer than plastic or foil versions, no hose is completely maintenance-free.
Conclusion
Knowing how to attach a dryer vent hose correctly helps ensure your dryer operates safely and efficiently. A secure, tight connection reduces the risk of fire, speeds up drying times, and minimizes moisture buildup in your laundry area. Installing your hose properly will have financial benefits for you as a homeowner in Lake, Cuyahoga, Geauga, Summit, Portage, or Medina County. Checking the hoses regularly will save you money in energy consumption. Over time it will also extend the life of your hose plumbing. By installing hoses correctly, you can avoid accidents that could cause injury to yourself or your family.
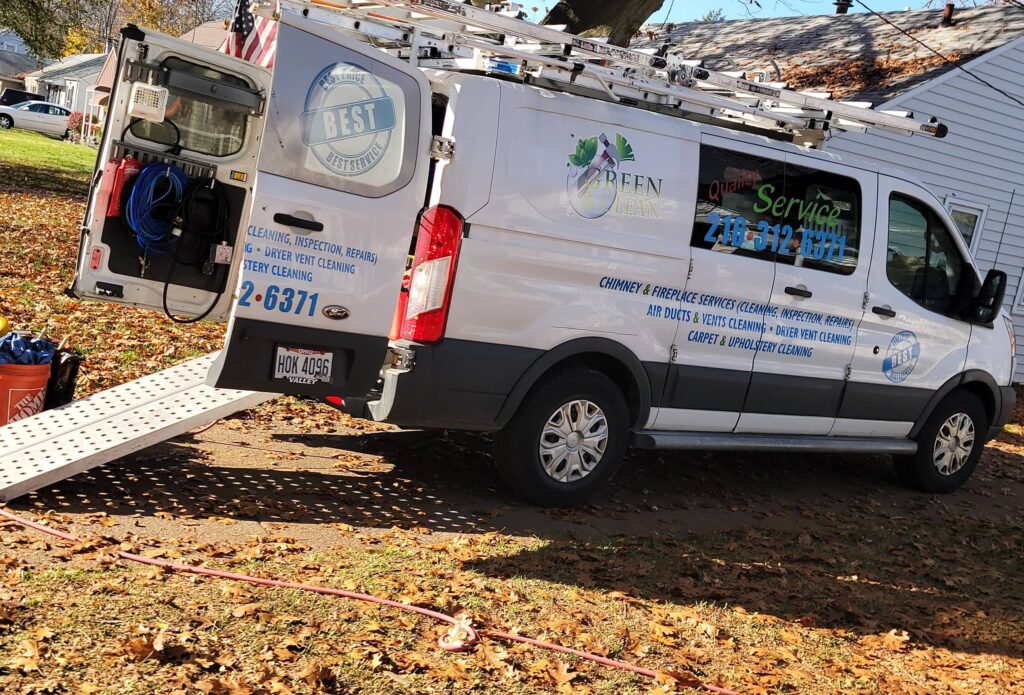
If you’d rather have the job done professionally or want to include a full duct cleaning, Green and Clean Home Services offers complete dryer vent services for Northeast Ohio. Their technicians can inspect your system, secure your connections, and make sure your dryer operates as it should.
