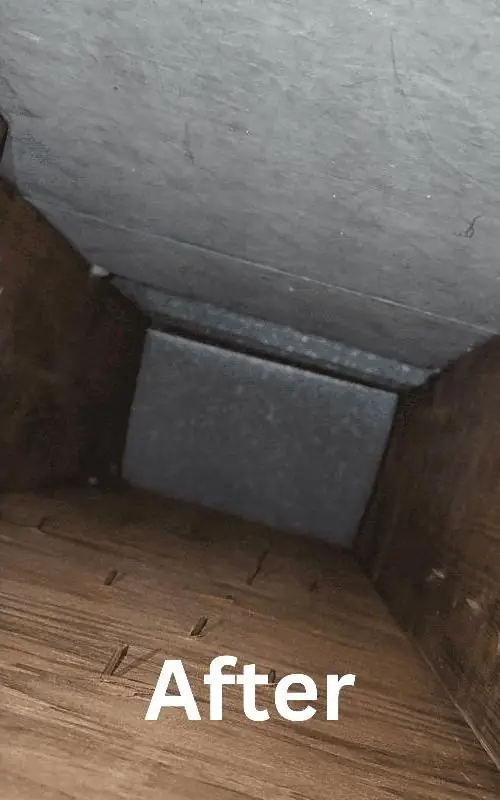
Many homeowners search how to replace a dryer vent after noticing longer drying times, excessive heat, or a damaged vent behind the dryer. In most cases, replacing a dryer vent is a straightforward project when you use the correct materials and follow the proper installation steps. However, choosing the wrong vent, making loose connections, or overlooking safety requirements can reduce airflow and create a fire hazard. Understanding how to replace a dryer vent before you begin helps you avoid these common mistakes while improving your dryer’s performance, energy efficiency, and overall home safety.
Your dryer vent removes hot, moist air and lint every time the appliance runs. Over the years, vent hoses can become crushed, disconnected, clogged with lint, or worn out from constant use. These issues force the dryer to work harder, increase utility costs, and raise the risk of overheating. This guide explains when a replacement is necessary, the tools and materials you’ll need, and the proper steps to install a new dryer vent safely for reliable long term performance.
How to Replace a Dryer Vent Starts with Inspecting the Existing Vent
Before beginning how to replace a dryer vent, inspect the entire vent system from the dryer connection to the outside vent hood. Look for crushed flexible ducts, loose clamps, disconnected joints, excessive lint buildup, rust, or holes that allow warm air to escape inside the home. Pay close attention to the outdoor vent hood because damaged flaps or blocked openings can also reduce airflow and affect dryer performance.
A complete inspection helps determine whether only the vent pipe needs replacement or if additional components should also be replaced. In many homes, replacing an old plastic or vinyl vent with a rigid or semi rigid metal duct greatly improves airflow while reducing lint accumulation. Identifying every problem before beginning the project prevents unnecessary work later.
Choose the Right Dryer Vent Materials
Selecting quality materials is one of the most important parts of how to replace a dryer vent. Modern building codes generally recommend rigid or semi rigid aluminum ducts because they resist crushing, improve airflow, and reduce lint buildup much better than plastic or foil ducts. Metal ducts also provide better fire resistance, making them the safest option for residential dryer vent systems.
Purchase the correct duct diameter, quality metal clamps, aluminum foil HVAC tape, and a replacement exterior vent hood if the existing hood shows signs of damage. Avoid using ordinary cloth duct tape because heat and moisture eventually cause it to fail. Using the proper materials during installation helps create a longer lasting and safer dryer vent system.
Disconnect the Old Dryer Vent Safely
Before removing the old vent, unplug the dryer from the electrical outlet. If you have a gas dryer, turn off the gas supply before moving the appliance. Carefully pull the dryer away from the wall while avoiding unnecessary strain on the electrical cord or gas connection. Once you have enough working space, loosen the clamps securing the old vent and disconnect the duct from both the dryer and the wall connection.
Take this opportunity to clean the lint that has accumulated behind the dryer and inside the wall connection. Even small amounts of lint can restrict airflow and increase fire hazards. Vacuum the area thoroughly before installing the new vent to help the replacement system perform as efficiently as possible.
How to Replace a Dryer Vent with Proper Installation
When learning how to replace a dryer vent, proper installation is just as important as choosing quality materials. Measure the distance between the dryer outlet and the wall connection before cutting the new duct. Keep the vent run as short and straight as possible because every bend reduces airflow. Slide the new duct onto both connections and secure each end with metal clamps. Seal the joints using aluminum foil HVAC tape designed for dryer vent systems.
Avoid creating sharp bends or kinks behind the dryer when pushing the appliance back into position. Crushed ducts reduce airflow and quickly collect lint, undoing the benefits of the replacement. After installation, leave enough space behind the dryer so the vent remains open and unrestricted during normal operation.
Test the New Dryer Vent After Installation
Once the new vent has been installed, test the entire system before placing the dryer back into regular use. Plug the dryer back into the electrical outlet and restore the gas supply if you have a gas dryer. Run the dryer on an air only cycle for several minutes while checking every vent connection for air leaks. Go outside and confirm that the vent hood opens fully and allows a strong stream of warm air to exit. Good airflow is one of the best indicators that the installation has been completed correctly.
Pay attention to unusual noises, excessive vibration, or signs that the vent hose is rubbing against the wall or becoming pinched. If airflow feels weak at the exterior vent, inspect the duct again for bends or loose connections. Testing the vent immediately after installation allows you to correct small issues before they reduce dryer performance or create future maintenance problems.
Want a certified technician to look at yours? Estimates are free across Northeast Ohio. Request yours here or call (216) 446-2626.
How to Replace a Dryer Vent Without Common Mistakes
Many homeowners researching how to replace a dryer vent unknowingly make mistakes that reduce airflow or create safety hazards. One of the most common errors is using flexible plastic or vinyl ducts instead of rigid or semi rigid metal ducts. Plastic vents collect lint more easily and are far more likely to become damaged over time. Another common mistake is making the vent run longer than necessary or adding unnecessary bends that slow the movement of warm air.
Some homeowners also push the dryer too tightly against the wall after installation, crushing the new vent behind the appliance. Even a high quality metal vent cannot perform properly if airflow becomes restricted. Leaving enough space behind the dryer helps maintain proper ventilation and allows the vent system to operate as designed.
Maintain the Dryer Vent After Replacement
Replacing the vent is only the first step toward safer dryer operation. Regular maintenance helps keep the new vent working efficiently for many years. Clean the lint screen before every load because a clogged lint filter reduces airflow and forces lint deeper into the vent system. Inspect the outdoor vent hood several times each year to remove leaves, nests, or other debris that could block the exhaust opening.
Professional dryer vent cleaning provides another level of protection. Even with a new vent, small amounts of lint gradually collect inside the ductwork. Scheduling periodic cleaning removes hidden buildup, improves dryer efficiency, shortens drying times, and helps reduce the risk of dryer fires. Routine maintenance also extends the life of the dryer by allowing it to operate with proper airflow.
Signs Your Dryer Vent Needs Professional Attention
Even after learning how to replace a dryer vent, some situations require professional service. If clothes remain damp after a normal drying cycle, the laundry room feels unusually hot, you notice a burning smell, or lint collects around the outside vent opening, another airflow problem may still exist. These warning signs should never be ignored because restricted dryer vents remain one of the leading causes of residential dryer fires.
A professional inspection can identify hidden problems inside the vent system that homeowners cannot easily access. Technicians use specialized equipment to inspect long vent runs, remove stubborn lint buildup, and verify that the entire system meets current safety recommendations. Early service often prevents expensive appliance repairs while improving drying performance.
Trust Green & Clean Home Services
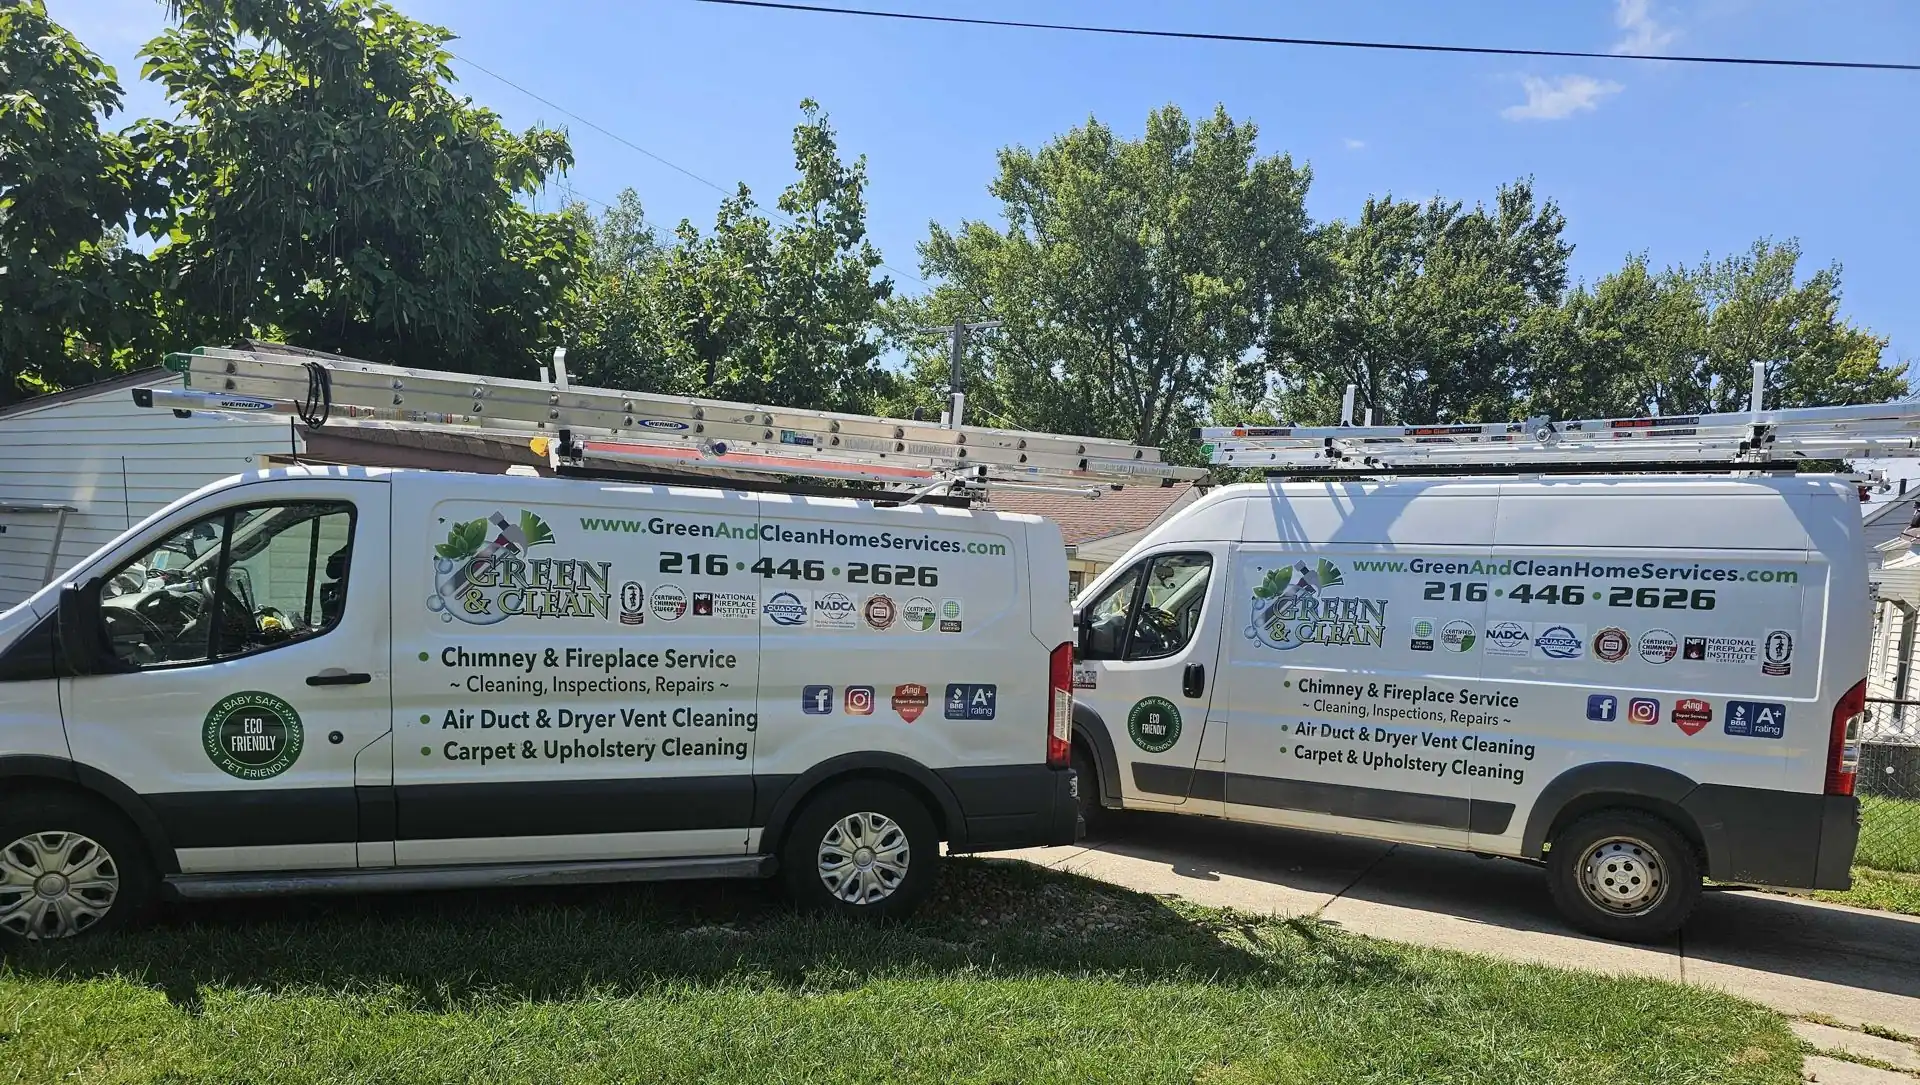
If you have been searching for how to replace a dryer vent, Green & Clean Home Services is here to help. We provide professional dryer vent cleaning, dryer vent inspections, dryer vent repairs, and replacement services throughout Lake County, Cuyahoga County, Geauga County, Summit County, and Portage County. Our experienced technicians inspect every vent system carefully and recommend solutions that improve safety, efficiency, and long term performance.
Whether you need a complete dryer vent replacement or routine maintenance, our team delivers dependable service you can trust. Visit our Dryer Vent Cleaning page to learn more about our services, or schedule an appointment through our Contact Page. For additional dryer safety information, visit the National Fire Protection Association.
Final Thoughts
Knowing how to replace a dryer vent helps homeowners improve dryer performance, lower energy costs, and reduce the risk of lint related fires. Choosing quality materials, installing the vent correctly, and testing the system after installation all contribute to safer and more efficient operation. Regular inspections and routine cleaning also help keep the new vent performing at its best throughout the year.
If your dryer continues showing signs of poor airflow after replacing the vent, do not ignore the problem. Schedule a professional inspection with Green & Clean Home Services and let our experienced technicians identify the cause. Proper dryer vent maintenance protects your home, extends the life of your appliance, and provides peace of mind every time you dry a load of laundry.